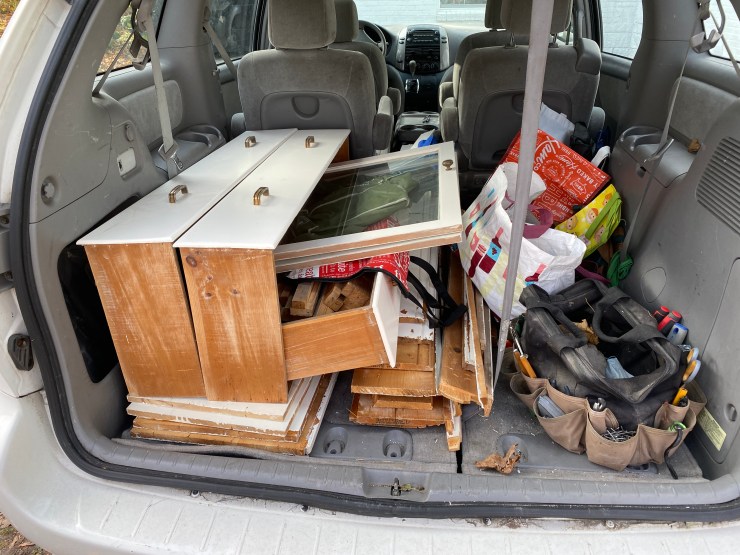
Recently, I have been working with a friend remodeling a house that he is flipping. We tore out an in-the-wall cabinet with drawers and shelves. I don’t like to see wood go to waste any more than I like scrap metal to go into the dump, so I took everything home.
I started with the drawers, and made them into shelves by flipping them upright, stacking them, leveling them, and screwing them to one another and to the studs in the wall. I trimmed them with some of the framing material from the cabinet. Then I had the idea to surround the shelves with the rest of the wood from the tear-out.

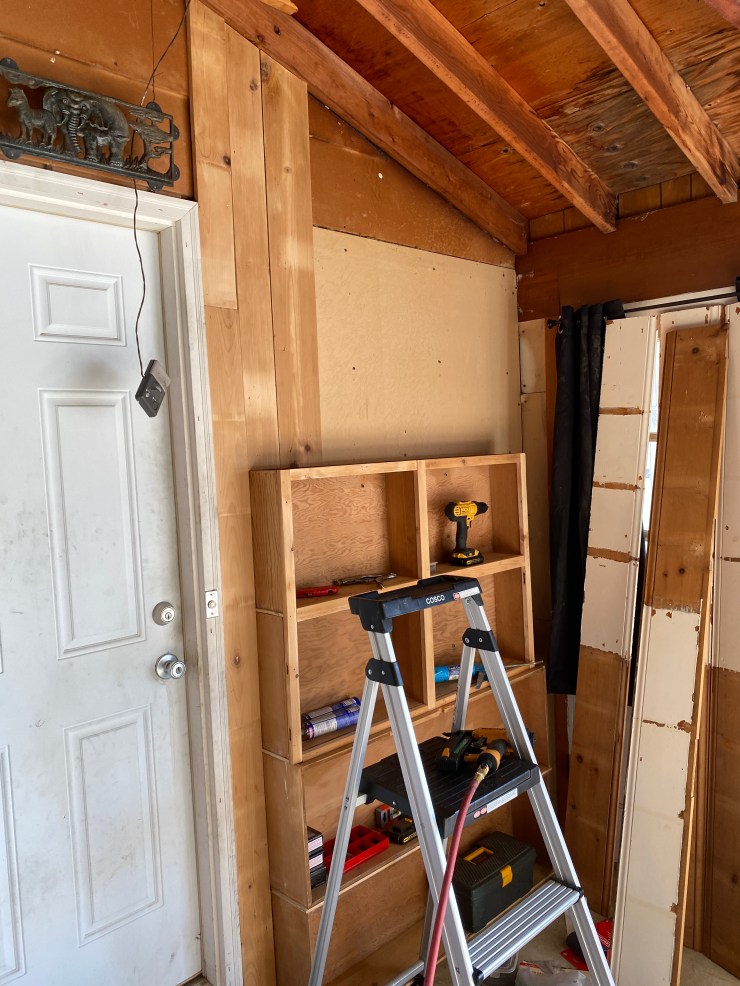


Eventually my idea for finishing the wall around the shelves spread to the rest of the wall, including all of the little spaces above and below my work table.

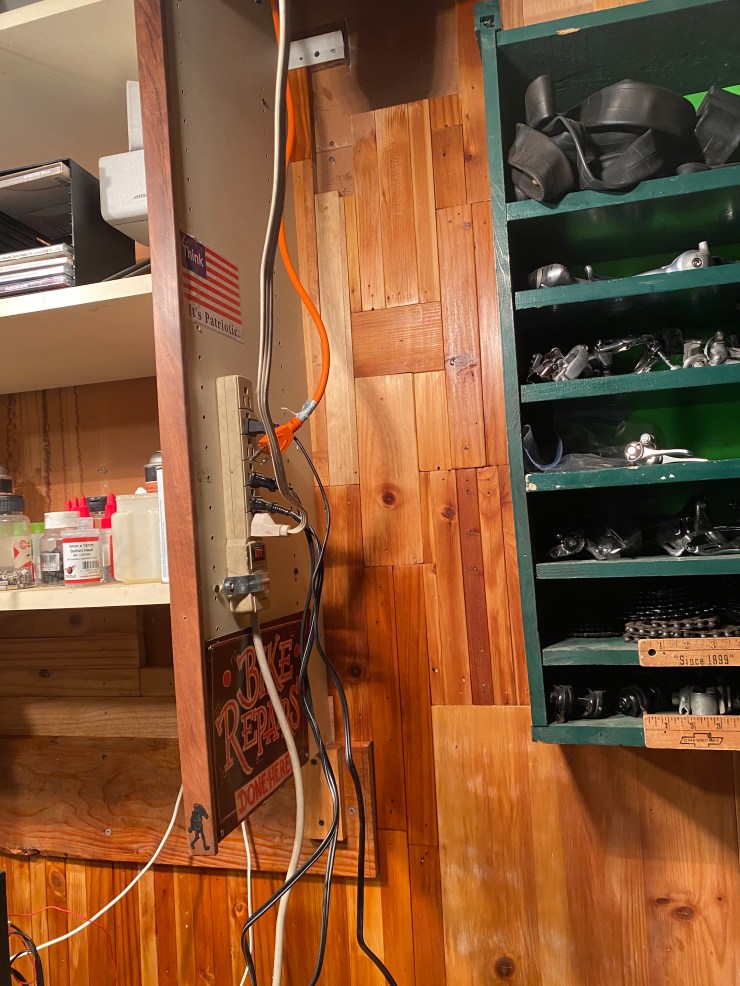
I may have gotten carried away using every piece from the cabinet’s face plate, framing and surround, but I sure had a good time playing Tetris here.

One of the more difficult parts of the project was removing all of the white paint. These cabinets were originally finished with polyurethane, but later painted white for some reason. I used several methods to remove the paint, including a lot of sanding with different power sanders, and scraping with a putty knife. What I eventually found to be most effective was using a heat gun and putty knife. That method proved to be the fastest, cleanest and easiest. Next time, that’s going to be my go-to from the get-go.

I finished everything with a fresh coat of polyurethane, decorated the shelves with new parts and supplies, and hung a linocut (wood block) print by a local Grand Rapids artist, Alynn Guerra (https://www.redhydrantpress.com).

